

监控系统
AI-摘要
切换
Tianli GPT
AI初始化中...
介绍自己
生成本文简介
推荐相关文章
前往主页
前往tianli博客
第七章 监控系统
一.监控系统简介
监控系统监测的对象需基本涵盖IT行业软、硬件环境的各个环节,包括机房环境、硬件、网络、软件、服务等,也要涵盖各个环节中的各项细节。例如,在硬件环境监控中服务器的工作温度、风扇转速,在系统环境监控中操作系统的运行状况、CPU、内存、、 I/O、 存储空间使用情况、网络流量、进程数量,服务监控中服务器的状态等。
本章我们就以Zabbix监控系统来进行监控系统的配置。
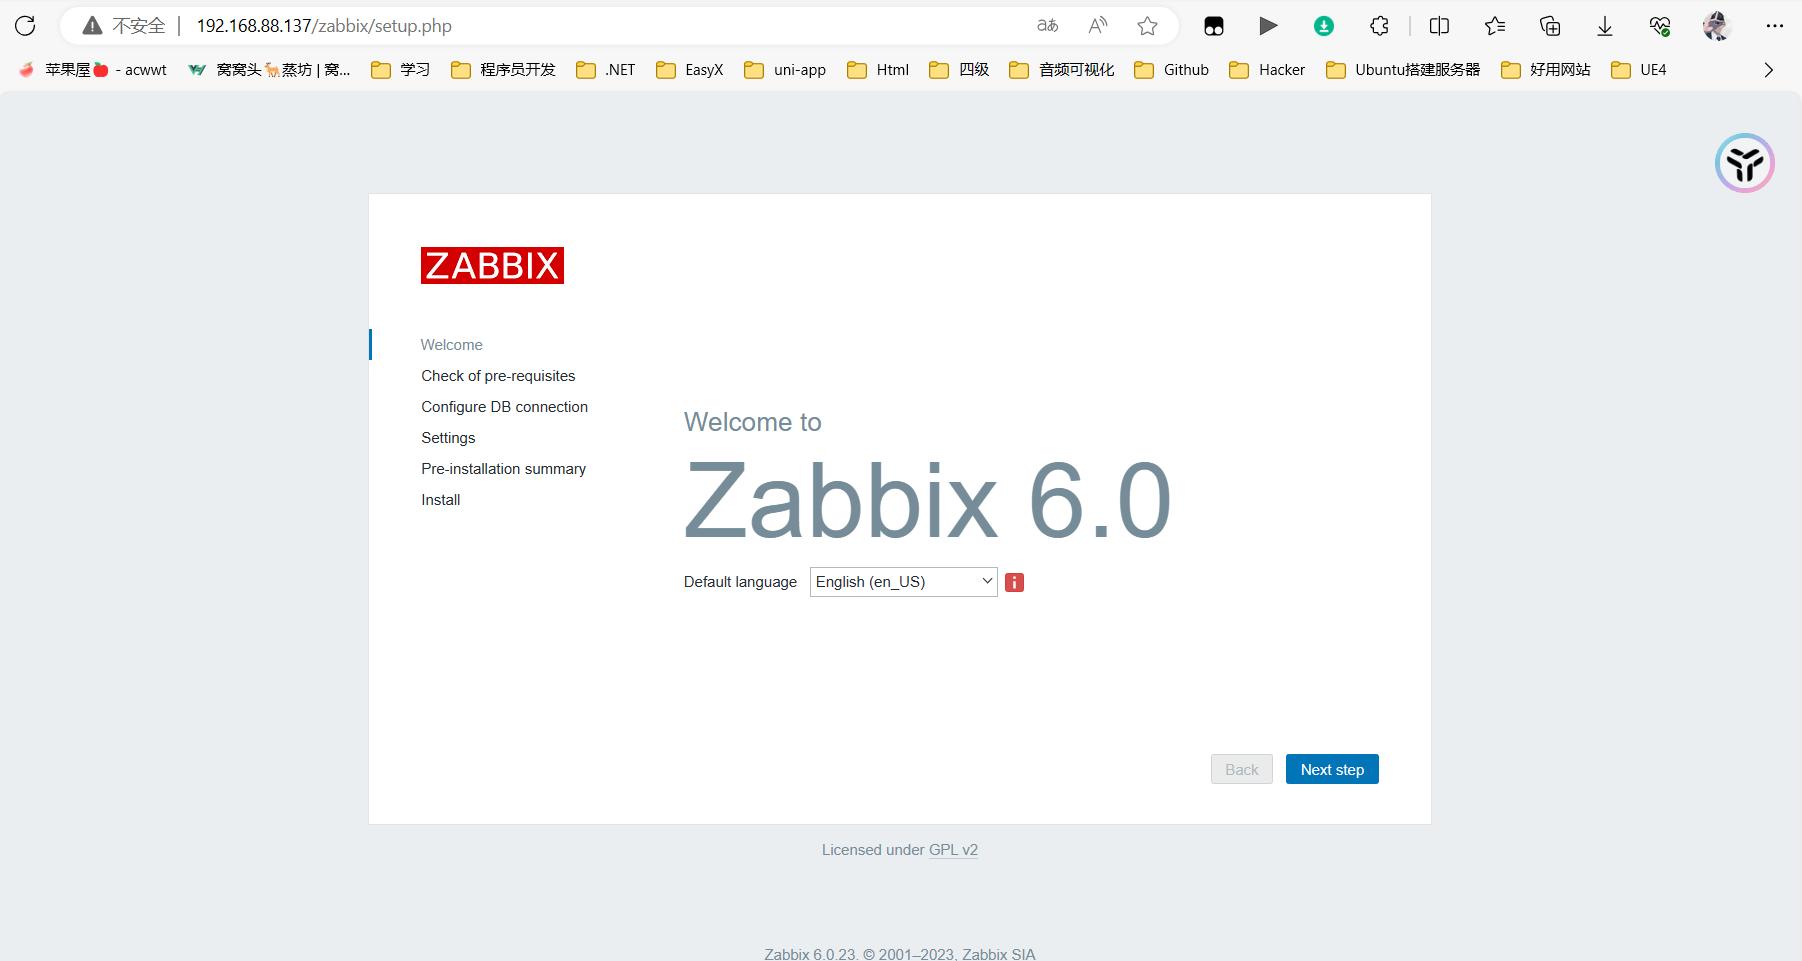
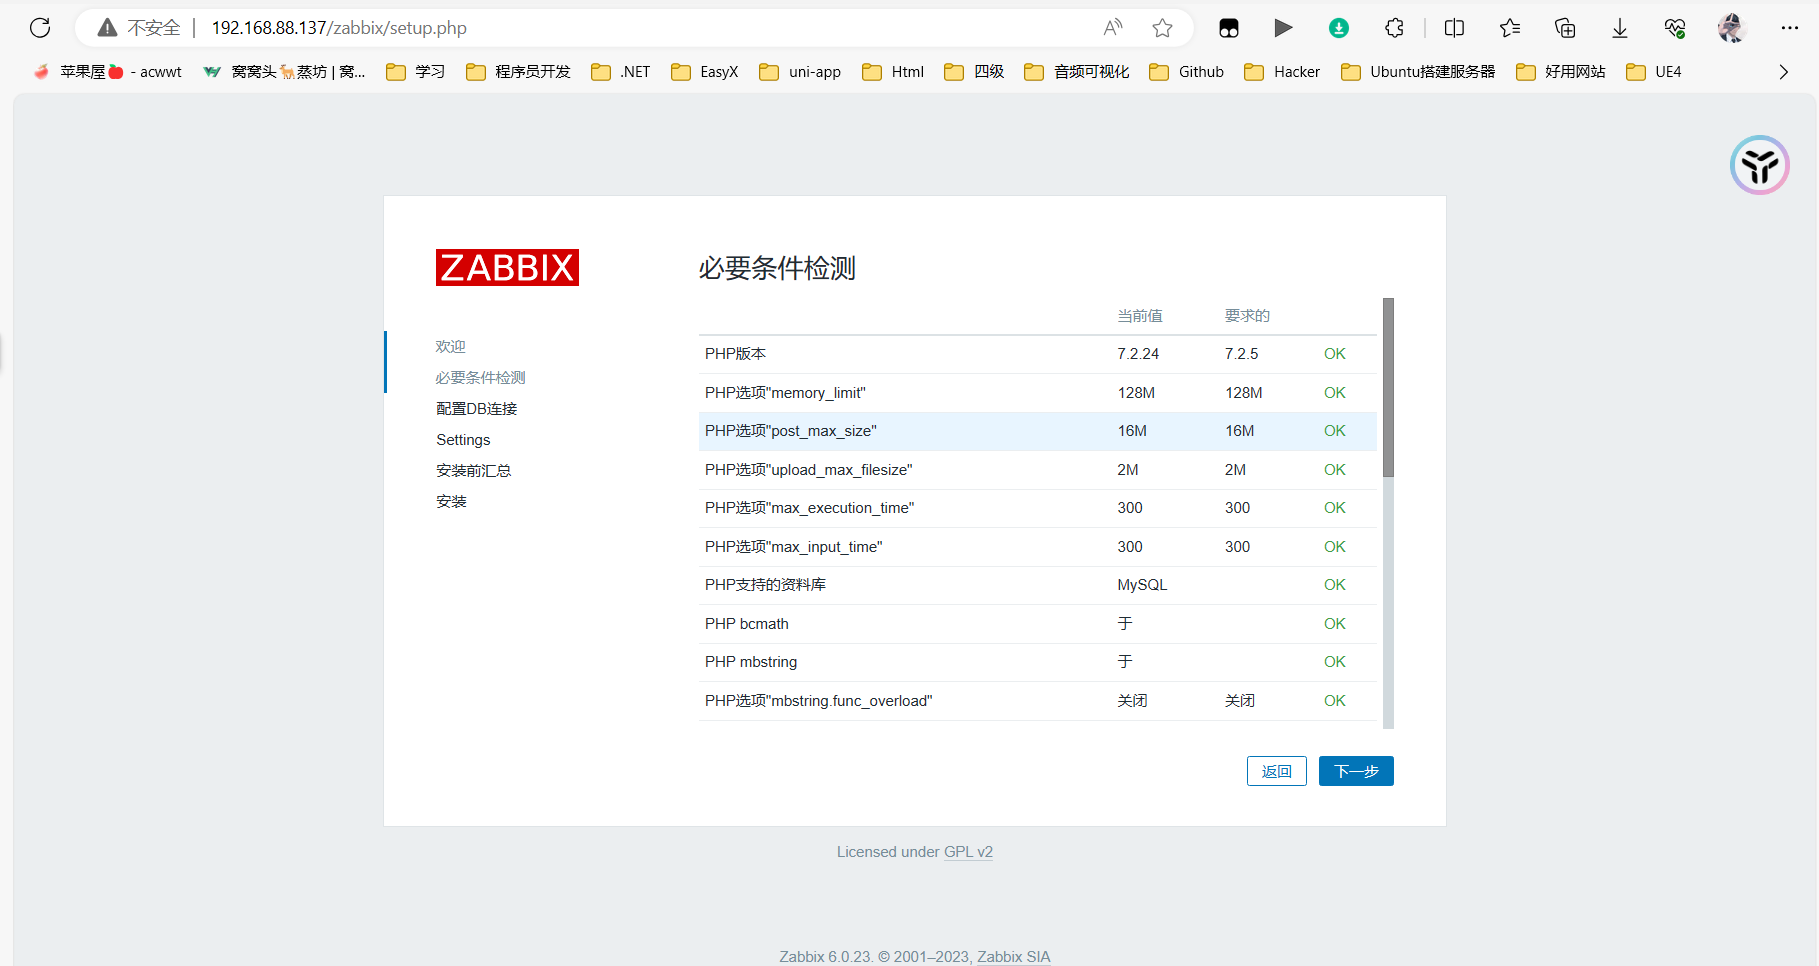
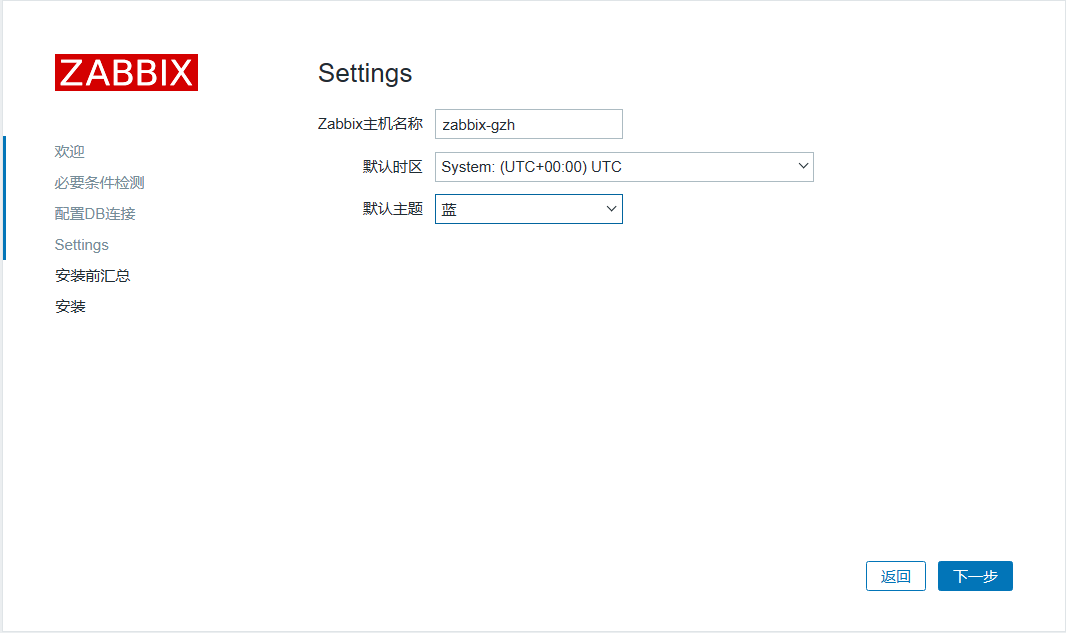
二.Zabbix的安装与配置
本节将讲解Zabbix安装、配置方式,并在安装、配置后对服务器端和客户端的连通性进行测试。由于 Zabbix Server集成了 Web 界面,人们一般将 Zabbix 安装在 Web环境——LAMP 或LNMP 中,我们这次做的不完全按照书本上面的做,但是在看本文之前建议还是把书本上的内容过一遍。
2.1基础准备
关闭防火墙以及selinux
[root@gzh-cs8 ~]# systemctl stop firewalld
[root@gzh-cs8 ~]# systemctl disable firewalld
Removed /etc/systemd/system/multi-user.target.wants/firewalld.service.
Removed /etc/systemd/system/dbus-org.fedoraproject.FirewallD1.service.
[root@gzh-cs8 ~]# setenforce 0
[root@gzh-cs8 ~]# sed -i "s/enforcing/permissive/g" /etc/selinux/config
2.2搭建zabbix监控(server端)
1.安装mysql
这个在SHELL那一章也讲过SHELL | 苹果屋🍎
2.安装zabbix6.0源
[root@gzh-cs8 ~]# rpm -Uvh https://repo.zabbix.com/zabbix/6.0/rhel/8/x86_64/zabbix-release-6.0-1.el8.noarch.rpm
获取https://repo.zabbix.com/zabbix/6.0/rhel/8/x86_64/zabbix-release-6.0-1.el8.noarch.rpm
警告:/var/tmp/rpm-tmp.YYhyFM: 头V4 RSA/SHA512 Signature, 密钥 ID a14fe591: NOKEY
Verifying... ################################# [100%]
准备中... ################################# [100%]
正在升级/安装...
1:zabbix-release-6.0-1.el8 ################################# [100%]
[root@gzh-cs8 ~]# dnf clean all
18 文件已删除
# 修改zabbix.repo
[root@gzh-cs8 yum.repos.d]# cat zabbix.repo
[zabbix]
name=Zabbix Official Repository - $basearch
#baseurl=https://repo.zabbix.com/zabbix/6.0/rhel/8/$basearch/
baseurl=https://mirrors.tuna.tsinghua.edu.cn/zabbix/zabbix/6.0/rhel/8/x86_64/ # zabbix清华源
enabled=1
gpgcheck=1
gpgkey=file:///etc/pki/rpm-gpg/RPM-GPG-KEY-ZABBIX-A14FE591
[zabbix-non-supported]
name=Zabbix Official Repository (non-supported) - $basearch
#baseurl=https://repo.zabbix.com/non-supported/rhel/8/$basearch/
baseurl=https://mirrors.tuna.tsinghua.edu.cn/zabbix/non-supported/rhel/8/x86_64/ # zabbix-non-supported清华源
enabled=1
gpgkey=file:///etc/pki/rpm-gpg/RPM-GPG-KEY-ZABBIX
gpgcheck=1
[zabbix-unstable]
name=Zabbix Official Repository (unstable) - $basearch
baseurl=https://repo.zabbix.com/zabbix/5.5/rhel/8/$basearch/
enabled=0
gpgcheck=1
gpgkey=file:///etc/pki/rpm-gpg/RPM-GPG-KEY-ZABBIX-A14FE591
# 修改zabbix-agent2-plugins.repo
[root@gzh-cs8 yum.repos.d]# cat zabbix-agent2-plugins.repo
[zabbix-agent2-plugins]
name=Zabbix Official Repository (Agent2 Plugins) - $basearch
#baseurl=https://repo.zabbix.com/zabbix-agent2-plugins/1/rhel/8/$basearch/
baseurl=https://mirrors.tuna.tsinghua.edu.cn/zabbix/zabbix-agent2-plugins/1/rhel/8/x86_64/ # agent2清华源
enabled=1
gpgkey=file:///etc/pki/rpm-gpg/RPM-GPG-KEY-ZABBIX
gpgcheck=13.安装zabbix6.0服务端和客户端
[root@gzh-cs8 ~]# dnf install zabbix-server-mysql zabbix-web-mysql zabbix-apache-conf zabbix-sql-scripts zabbix-selinux-policy zabbix-agent2 -y2.3配置数据库
1.创建初始数据库
[root@gzh-cs8 yum.repos.d]# mysql -u root -p
Enter password:
Welcome to the MySQL monitor. Commands end with ; or \g.
Your MySQL connection id is 10
Server version: 8.0.35 MySQL Community Server - GPL
Copyright (c) 2000, 2023, Oracle and/or its affiliates.
Oracle is a registered trademark of Oracle Corporation and/or its
affiliates. Other names may be trademarks of their respective
owners.
Type 'help;' or '\h' for help. Type '\c' to clear the current input statement.
mysql> create database zabbix character set utf8mb4 collate utf8mb4_bin;
Query OK, 1 row affected (0.00 sec)
mysql> create user zabbix@localhost identified WITH sha256_password BY 'guo123';
Query OK, 0 rows affected (0.00 sec)
mysql> grant all privileges on zabbix.* to zabbix@localhost;
Query OK, 0 rows affected (0.05 sec)
mysql> set global log_bin_trust_function_creators = 1;
Query OK, 0 rows affected, 1 warning (0.00 sec)
mysql> use mysql;
Reading table information for completion of table and column names
You can turn off this feature to get a quicker startup with -A
Database changed
mysql> delete from user where user=' ';
Query OK, 0 rows affected (0.00 sec)
mysql> flush privileges;
Query OK, 0 rows affected (0.00 sec)
mysql> quit;
Bye3.导入初始架构和数据
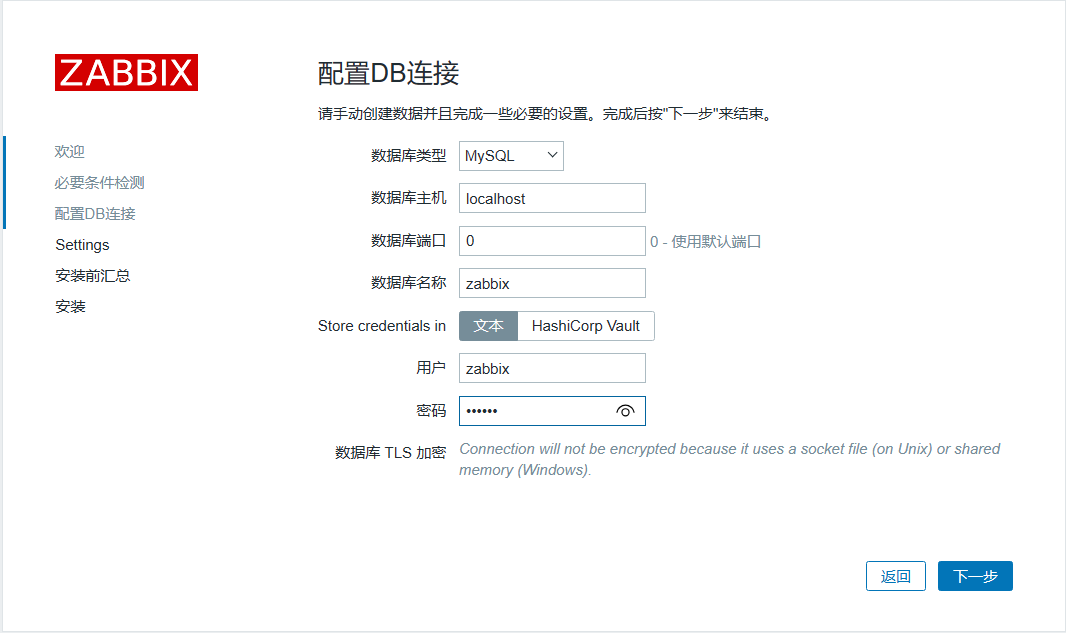
zcat /usr/share/zabbix-sql-scripts/mysql/server.sql.gz | mysql --default-character-set=utf8mb4 -uzabbix -p zabbix4.Zabbix server配置数据库
#导入表完成之后禁用mysql以下功能
[root@gzh-cs8 yum.repos.d]# mysql -u root -p
Enter password:
Welcome to the MySQL monitor. Commands end with ; or \g.
Your MySQL connection id is 12
Server version: 8.0.35 MySQL Community Server - GPL
Copyright (c) 2000, 2023, Oracle and/or its affiliates.
Oracle is a registered trademark of Oracle Corporation and/or its
affiliates. Other names may be trademarks of their respective
owners.
Type 'help;' or '\h' for help. Type '\c' to clear the current input statement.
mysql> set global log_bin_trust_function_creators = 0;
Query OK, 0 rows affected, 1 warning (0.01 sec)
mysql> quit;
Bye
# 编辑zabbix_server.conf配置文件
vim /etc/zabbix/zabbix_server.conf
DBPassword=guo123 #DBPassword密码为guo1232.4启动Zabbix server和agent进程
[root@gzh-cs8 yum.repos.d]# systemctl restart zabbix-server zabbix-agent2 httpd php-fpm
[root@gzh-cs8 yum.repos.d]# systemctl enable zabbix-server zabbix-agent2 httpd php-fpm
Created symlink /etc/systemd/system/multi-user.target.wants/zabbix-server.service → /usr/lib/systemd/system/zabbix-server.service.
Created symlink /etc/systemd/system/multi-user.target.wants/zabbix-agent2.service → /usr/lib/systemd/system/zabbix-agent2.service.
Created symlink /etc/systemd/system/multi-user.target.wants/httpd.service → /usr/lib/systemd/system/httpd.service.
Created symlink /etc/systemd/system/multi-user.target.wants/php-fpm.service → /usr/lib/systemd/system/php-fpm.service.注意!如果报以下错误,修改配置文件
11月 14 06:54:47 gzh-cs8 httpd[29177]: AH00558: httpd: Could not reliably determine the ser...
vim /etc/httpd/conf/httpd.conf
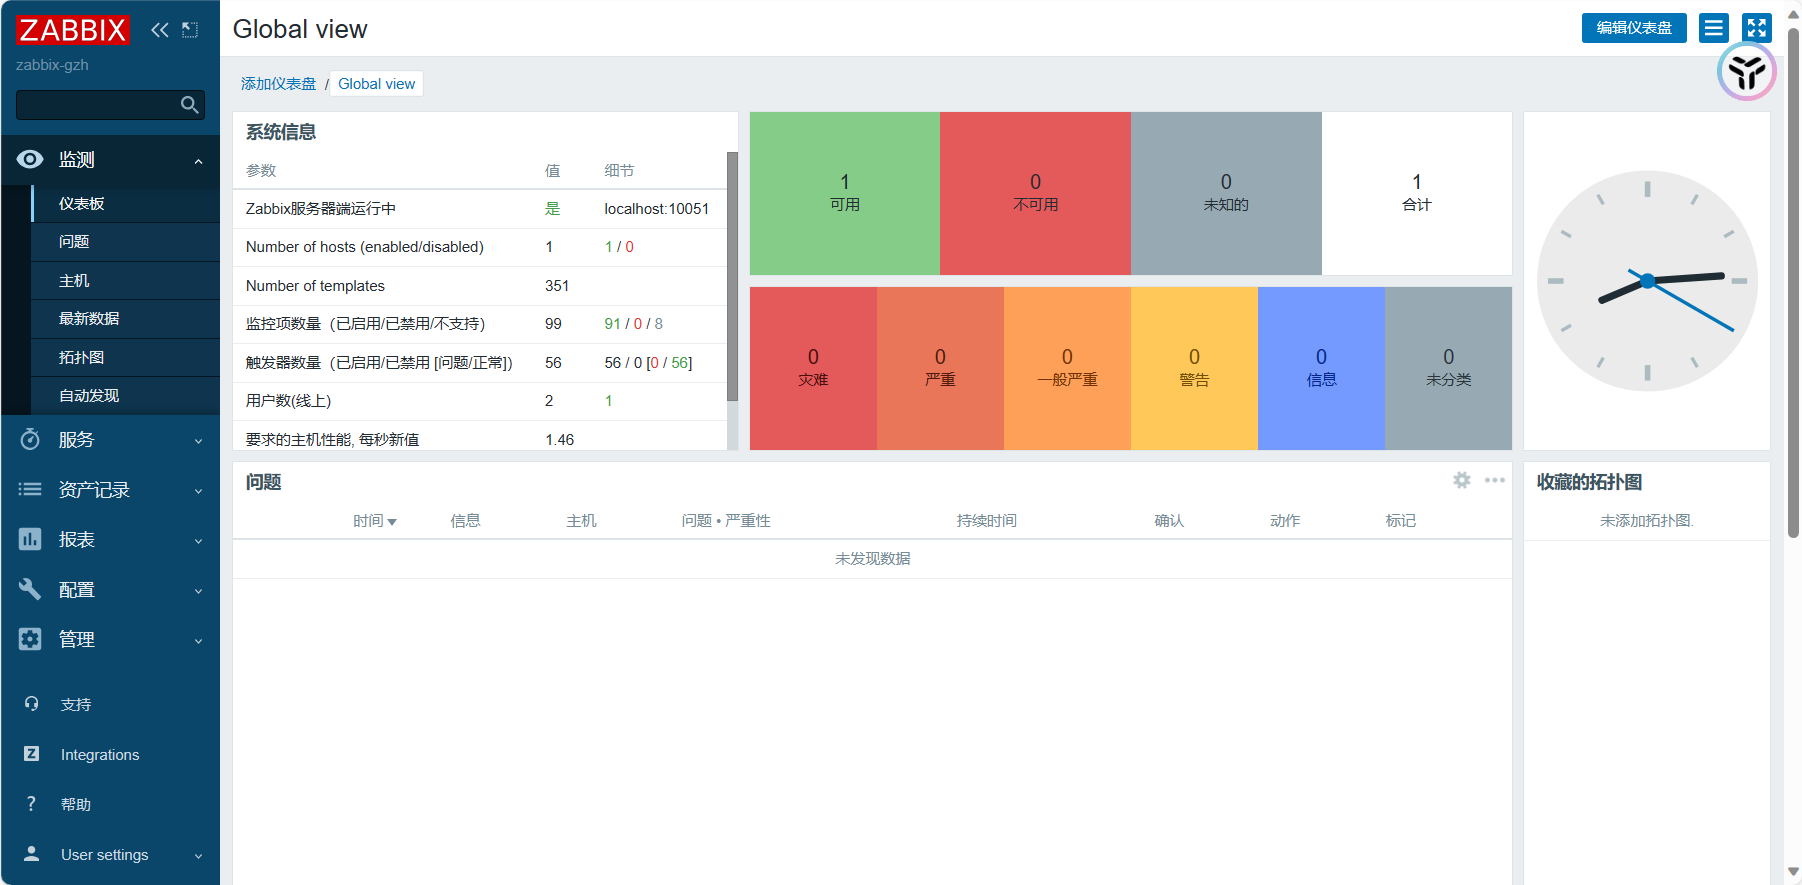
找到Servername取消注释并将www.example.com改为localhost启动完如下:
出现上面的图片就代表zabbix服务安装成功了
默认账号密码为:
账号: Admin
密码: zabbix

登录成功以后就可以看到主页面了
到这里服务端算是安装成功了,书上有如何用zabbix监控的讲解,这里就不一一演示了,这里就拿zabbix管理linux来举例
三.Zabbix管理linux主机
1.监控Linxu主机,关闭防火墙。
systemctl disable --now firewalld2.关闭selinux,将SELINUX=enforcing 改为SELINUX=disabled
vi /etc/selinux/config3.安装zabbix监控代理程序,机器能上网即可。这里选择的是清华大学的源。
rpm -ivh https://mirrors.tuna.tsinghua.edu.cn/zabbix/zabbix/6.0/rhel/8/x86_64/zabbix-agent-6.0.3-1.el8.x86_64.rpm4.编辑zabbix-agent的配置文件。将其中Server的地址改成zabbix-server的地址。
vi /etc/zabbix/zabbix_agentd.conf5.启动agent代理程序。
systemctl start zabbix-agent6.把agent代理程序加入开机自启。
systemctl enable zabbix-agent7.进入zabbix主页添加主机。
主机名称,见面的名称随便填写,模板可以选择Linux by Zabbix agent,群组可以选择Linux server,interfaces选择客户端,IP填写被监控主机的IP ,端口默认10050,点击添加。
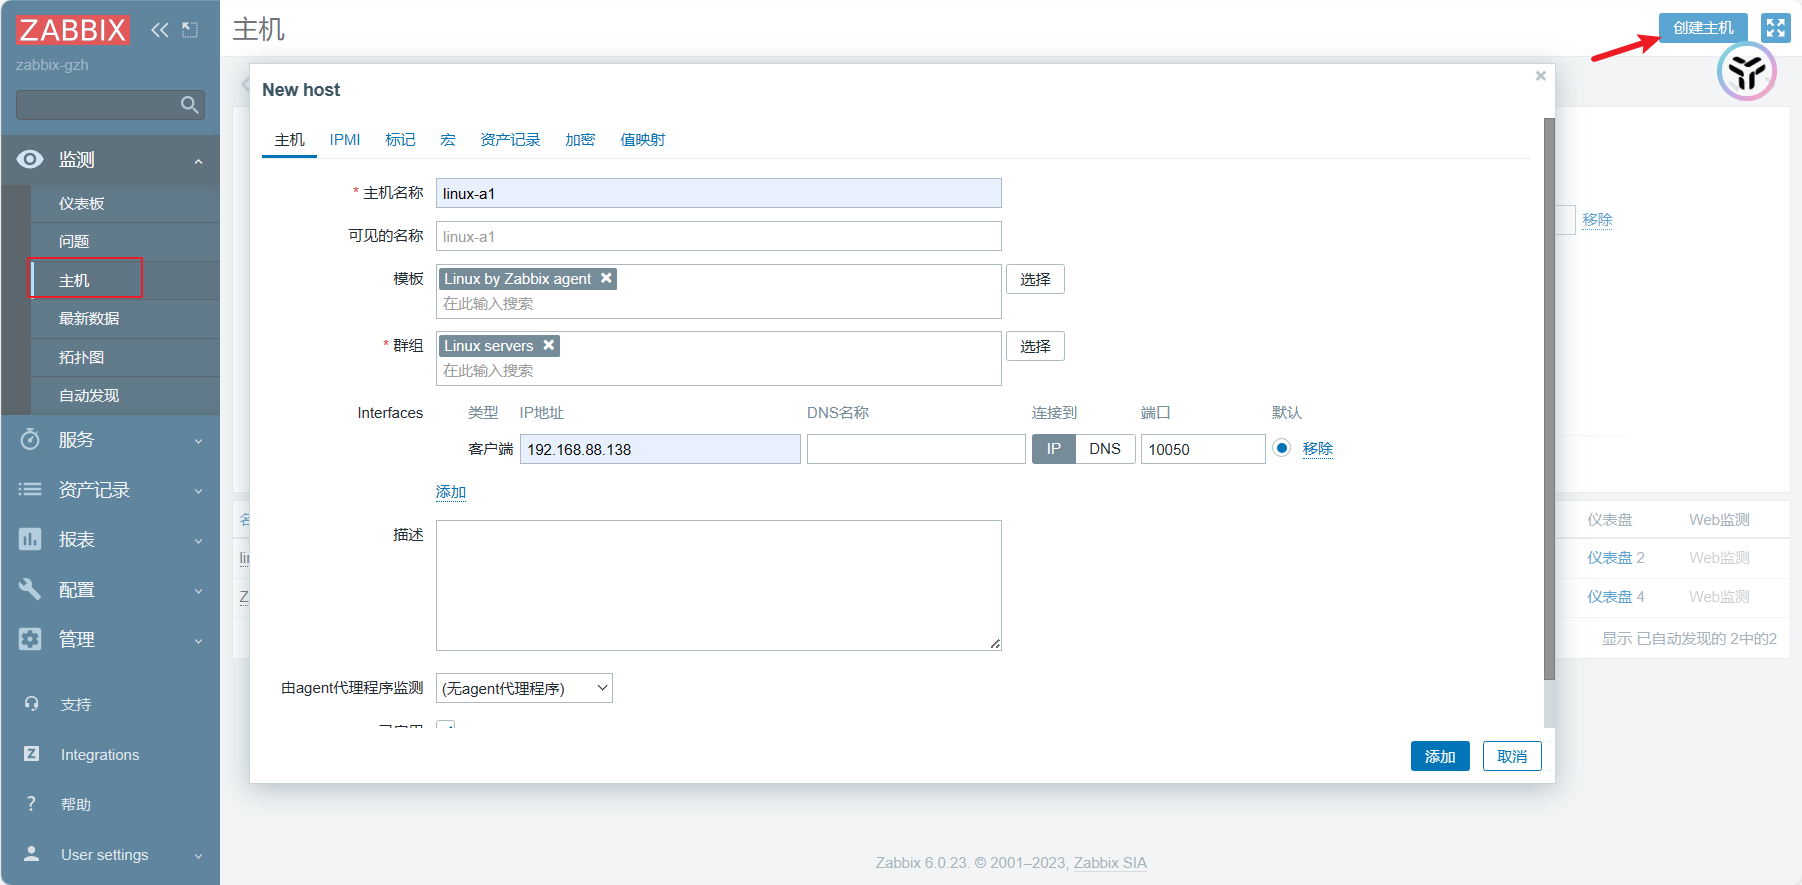
过会当ZBX变为绿色表示zabbix-server已经发现被监控主机,可以看到监控的数据了。
- 感谢你赐予我前进的力量
-
 微信
微信  支付宝
支付宝
赞赏者名单
因为你们的支持让我意识到写文章的价值🙏
本文是原创文章,采用 CC BY-NC-ND 4.0 协议,完整转载请注明来自 窝窝头

评论
匿名评论
隐私政策
你无需删除空行,直接评论以获取最佳展示效果